Ion Reference Gauge IRG080
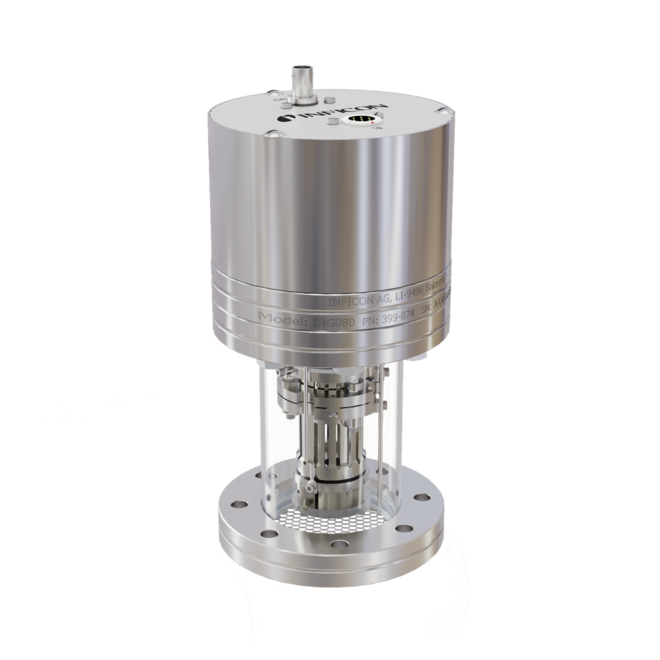
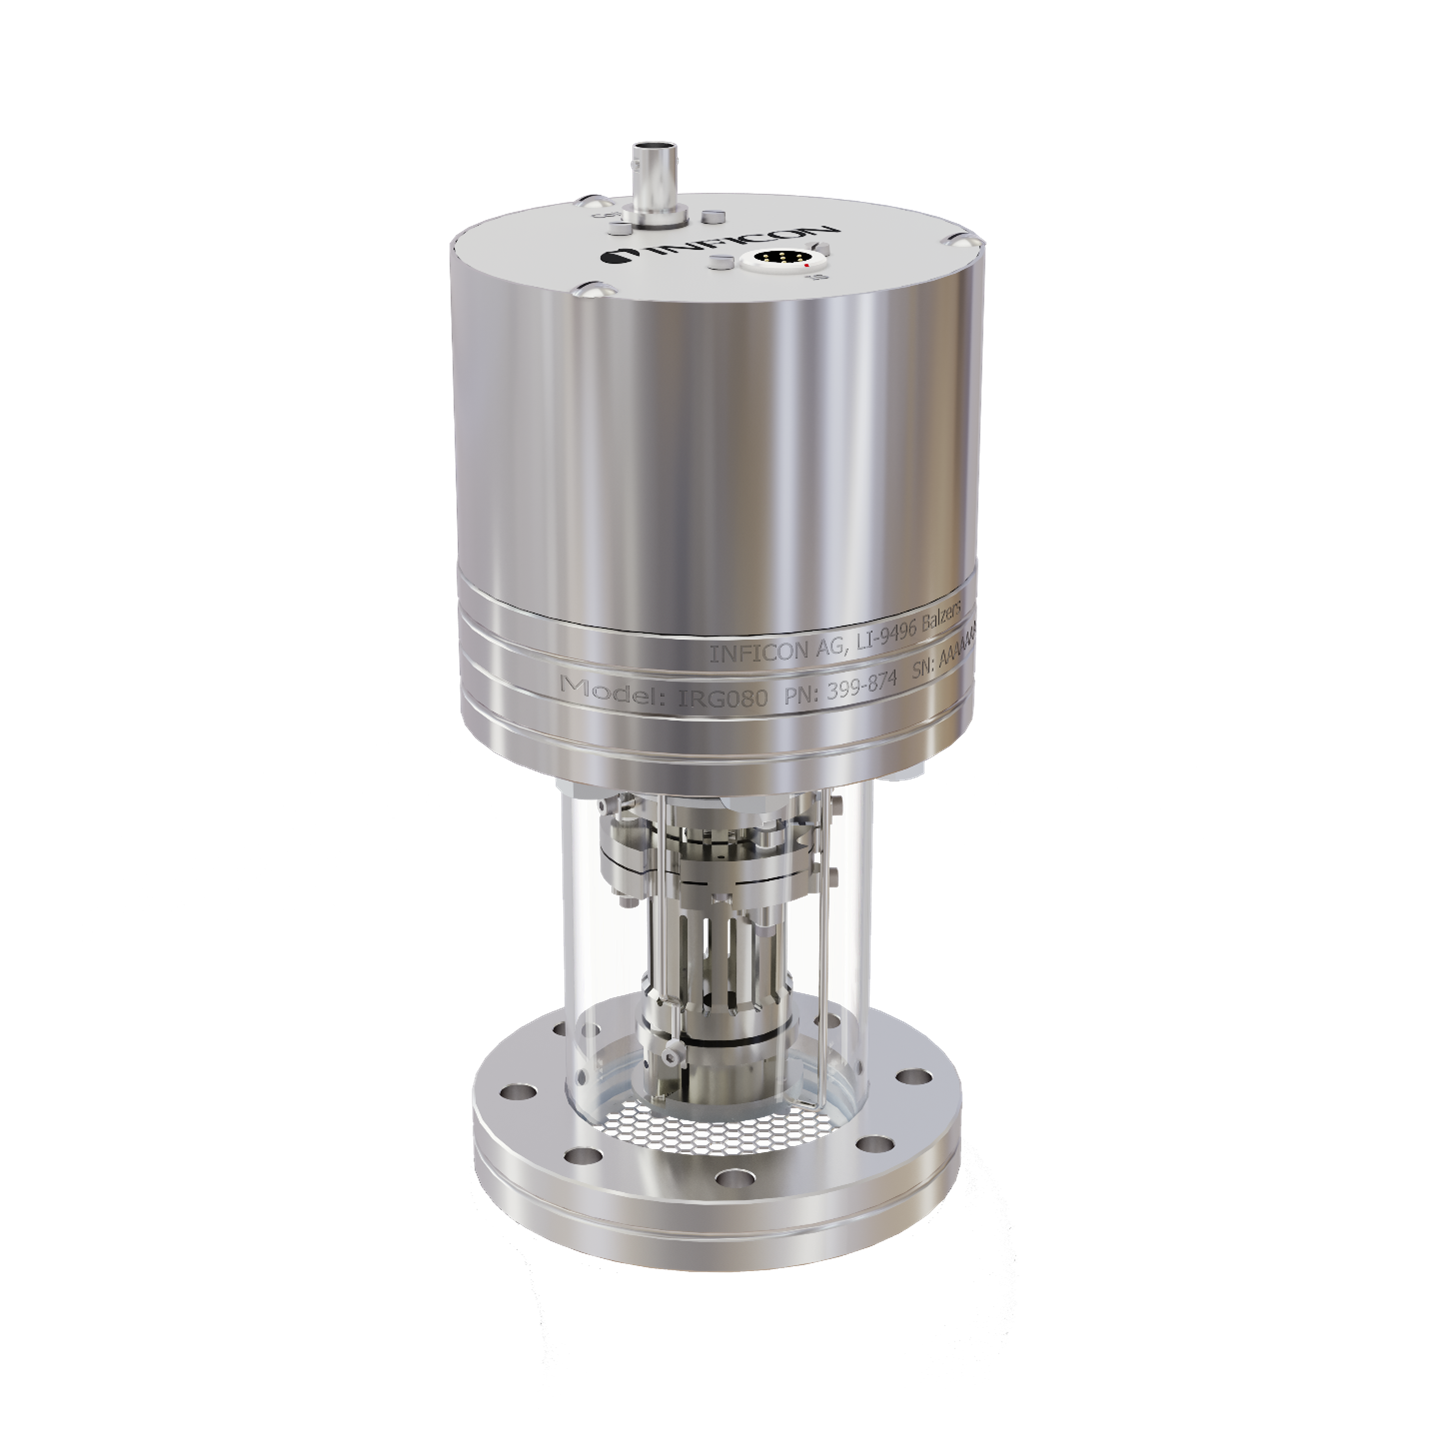
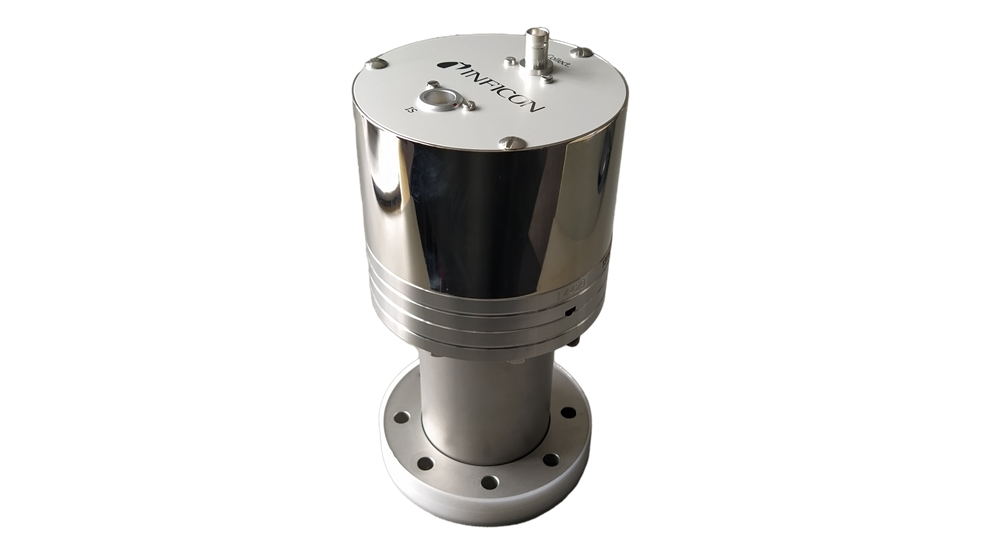
The Ion Reference Gauge IRG080 sets a new standard within the vacuum ion gauges category, delivering true pressure measurement at unprecedented accuracy (<1%), repeatability (<1%) and reproducibility (<1%). Gauge exchange does not require calibration or process re-adjustments. Its design complying to ISO TS 6737 makes IRG080 the first vacuum gauge suitable as a reference standard [1].
Precise and stable vacuum pressure measurement is an essential, yet hard to achieve, feature in advanced industrial production processes and metrology. Ionization gauges, which have been providing a solution to measure total pressure in the high to ultra-high vacuum range since the 1950s, have demonstrated versatility, in spite of an innate diversity and lack of standardization.
Ion Reference Gauge IRG080 stands out for its innovative principle, and sets a new standard within the ion gauge class. Based on an innovative concept for ionization vacuum gauges, IRG080 will benefit users of demanding processes requiring precise vacuum pressure measurement for quality assurance and cost-effective production, in particular the advanced process and manufacturing industry of high value-added products, such as semiconductor chips and solar cells, calibration and metrology applications, and standards transfer.
High-vacuum and ultra-high-vacuum (HV/UHV) environments are used for researching the underlying foundations of our world, as well as for developing, qualifying and producing high value-added products, such as semiconductor chips and solar cells. Precise, stable and reliable vacuum pressure measurement is therefore an essential, but demanding, feature pursued by advanced industrial production processes, calibration and metrology.
The Ion Reference Gauge IRG080 is a first-of-a-kind vacuum sensor solution providing the best accuracy for total pressure measurement in high and ultra-high vacuum systems. IRG080 relies on an innovative concept of a ionization vacuum gauge (the hot cathode emits electrons travelling on a straight path into a Faraday cup: the ionizing electron path length is as such known and well-defined), developed in collaboration with a pan-European consortium of vacuum institutes within the European Metrology Programme for Innovation and Research (EMPIR) project 16NRM05. IRG080 is the first commercial product complying to the future ISO TS 6737 international norm and hence, suitable as a reference standard in the range of 10-6 Pa to 10-2 Pa.
Offering unprecedented accuracy (<1 %), better repeatability (<1 %), reproducibility (<1 %) and long-term stability, within a robust design, IRG080 can benefit users of demanding processes requiring precise vacuum pressure measurement for quality assurance and cost-effective production. In particular:
- Advanced industrial applications, pursing no time-consuming calibration or process readjustments. The IRG080 design, based on rigid components built to known and controllable tolerance, allows the construction of sensors with consistent behavior in mass production. As the sensitivities of all process gas species are known for a priori with high accuracy, individual gauges can be exchanged in industrial production without the need for calibration - removing time consuming process readjustments that lead to unscheduled production stoppages and lost productivity.
- Calibration of other vacuum gauges and mass spectrometers, pump speed measurement. Its transport and long-term stability ensure that it can also be used by calibration laboratories for vacuum gauge calibration (ISO 3567) and by users calibrating mass spectrometers (ISO TS 20175) and/or measuring outgassing rates (ISO TS 20177). IRG080 will also improve pump speed measurements (ISO 21360 series), since relative sensitivity factors are accurately known.
- Metrology, transfer standard for comparisons to national and calibration laboratories. The IRG080 serves as an accurate reference gauge for high vacuum and as a transfer standard for comparisons at National and calibration laboratories.
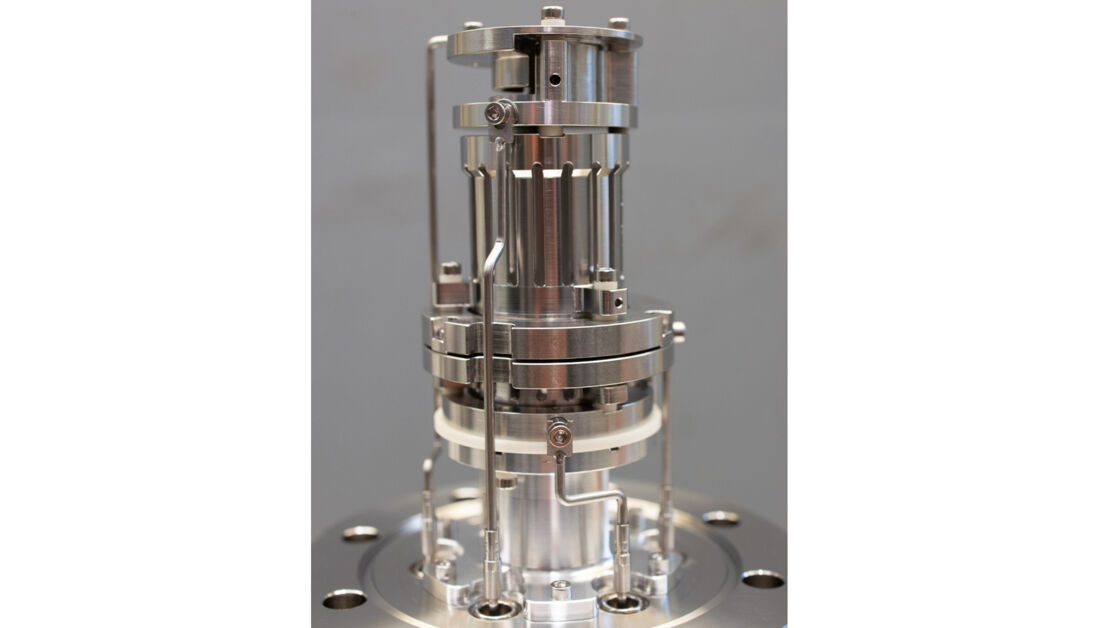
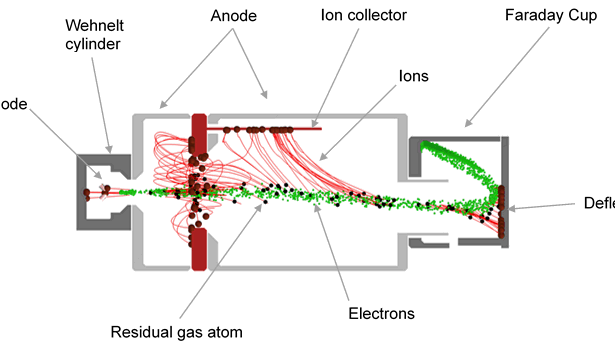
Electrons are emitted from a heated tantalum disk. The emitted electron are focused by a Wehnelt cylinder and a grounded potential ring towards an exit aperture at the end of the anode cage. Electrons that are not scattered along their trajectory and enter the exit aperture are bent around to a Faraday cup, where the arriving electron current is measured. Electrons traversing the volume inside the anode cage can ionize residual gas by electron bombardment. The generated ions travel to an off-centred ion collector rod where the ion current is collected and measured. The ion current is proportional to the gas density. Using the ideal gas law, a total pressure can be calculated from the ion density. The electrons are bent around towards the Faraday cup to prevent and reduce perturbing soft X-rays or electron stimulated desorption, major sources of error in standard Bayard-Alpert gauges. The ratio of the arriving current at the Faraday cup to the emitted current at the cathode close to one is an easy check on the proper working of the instrument.
The main cause of inaccurate and unstable sensitivities in Bayard-Alpert gauges is the unstable and non-reproducible distribution of electron emission from hot cathodes. To this end, there are 4 requirements for a design of a stable Bayard-Alpert gauge [2]:
- All emitted electrons must enter the ionization space;
- Path length L and energy of each electron must be independent of the point of origin on the cathode;
- The number of transits through the ionization space must be constant (preferably equal to 1);
- The ion collection efficiency must be independent of the point of origin on the cathode.
The design of the new IRG080 fulfills all 4 requirements.
| Typical, Bayard-Alpert Gauges | New IRG080 | |
| All emitted electrons must enter the ionization space | About 80-90% of the electrons hit the anode grid without entering the ionization space within the anode grid | Wehnelt and collector ring assure focusing of the electrons into and through the ionization space |
| Path length L and energy of each electron must be independent of the point of origin on the cathode | There is a wide spread of paths, trajectories and electron energy | Well known path and electron energies. Spread of electron beam is minimal (as space charge is not existent) |
| The number of transits through the ionization space must be constant (preferably 1) | 0 to several transitions through ionization space | 1 |
| The ion collection efficiency must be independent of the point of origin on the cathode | Not the case | Ion collection efficiency is very close to 1 |
In fact, the sensitivity of the IRG080 gauge for a particular gas can be calculated once the ionization cross section is known, e.g. by looking it up in tables of books and scientific papers. This makes it possible to measure accurately the pressure of the gas in a vacuum chamber. Previously, the gas dependent sensitivity factor needed to be obtained by experimental test.
Further, the robust construction of the gauge makes it possible to ship the gauge from the calibration laboratory to the use site, without having to worry if the gauge structures experienced a hit on the postal transport that shifted position of the filigree structural elements, thereby changing the just obtained calibration.
The use of an emitter disk instead of a thin filament makes the electrons leave from a defined position. In previous ionization gauges, the filament position varies e.g. due to thermal expansion, and imperfect spring tensioning of the filament.
Fixed electron starting position, stiff gauge geometry with tight tolerances, stable and known electron trajectories lead to a highly reproducible, accurate measurement. Since the gauge is built so robust and precise with very tight tolerances, and its sensitivity is derived from first principles, the gauge can be used without additional calibration. This saves on calibration cost.
The new design has high sensitivity. This means that higher signal strength can be obtained with the same electron emission current.
| INFICON IRG080 | Typical Bayard-Alpert | Improvement IRG080 | |
| Sensitivity | 28 mbar-1 | 3.5 - 20 mbar-1 | 1.4 - 8x |
| Accuracy | 1 % | 15 % | 15x |
| Sensitivity repeatability | 1 % | 20 % | 20x |
| Sensitivity computable | yes | no | |
| Needs calibration | No, since predictable sensitivity | yes | |
| Stability | Robust and long-term stable | Less long-term stable |
Due to the stable features of the IRG080, it is proposed to become a measurement standard as described in ISO TS 6737 [3].
The gauge is from a design naturally immune from the generic Earth’s magnetic field. External magnetic field are sometimes present in applications where external magnetic sources (such as cold cathodes or particle beam steering magnets) are employed. In this case, field penetration can be mitigated by using magnetic shielding in the form of a mu-metal tube instead of a stainless-steel tube. This part is offered by INFICON as a standard accessory.
The IRG080 is an entirely passive sensor, allowing for bake-out temperature up to 400 °C (without connector plate).
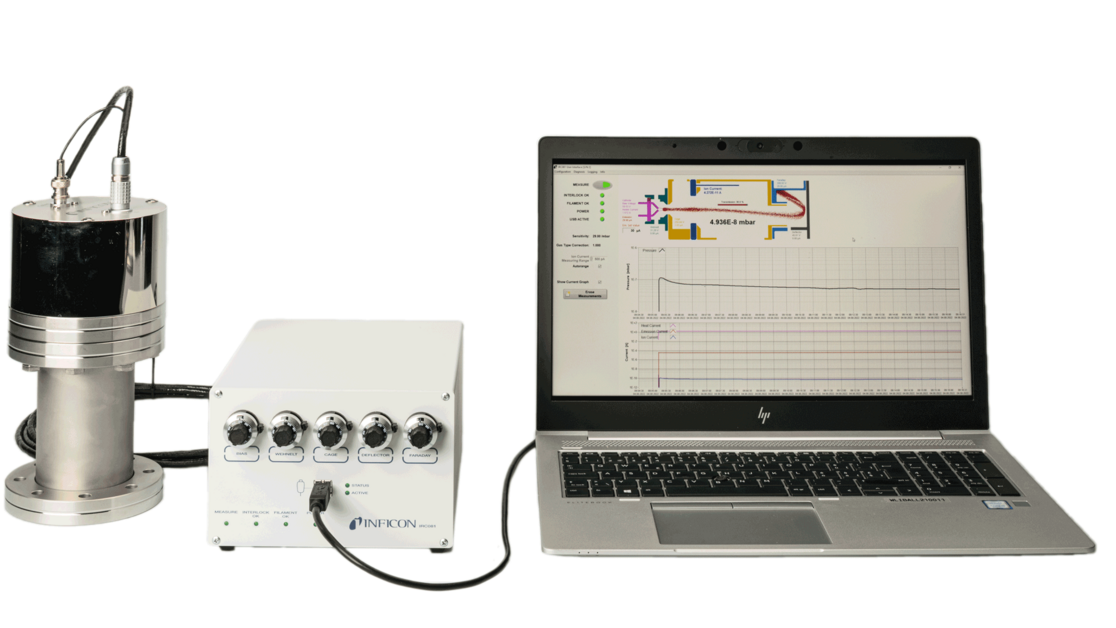
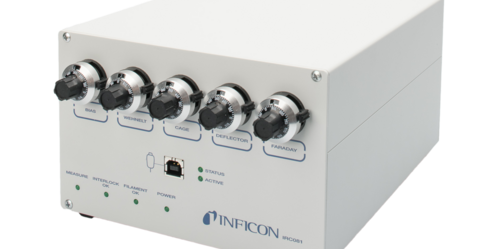
Like all passive sensors, for its operation an external control and read-out unit must be supplied and connected via a cable. The INFICON Ion Reference gauge Controller IRC081 is an off-the-self solution for users seeking a commercial device and is available in the INFICON catalog.
[1] K. Jousten et al., "Electrons on a straight path: A novel ionisation vacuum gauge suitable as reference standard", Vacuum 189 (2021), 11 0239
[2] Bills et al., “New ionisation gauge geometries providing stable and reproducible sensitivities”, J. Vac. Sci. Technol. A, 1984
[3] K. Jousten, et al., " Evaluation and metrological performance of a novel ionisation vacuum gauge suitable as reference standard", Measurement 21 0 (2023), 112552
